Call Us

We are ready to help

Request a special version

Didn't find what you were looking for?
This field cannot be empty.
This field must be at least 3 characters long.

Files

Drag & Drop files here or click to browse

File format supported: (.pdf, .zip, .docx, .png, .jpg .xlsx, .xls, .csv, .txt) & Max Filesize: 25mb

Need to be uploaded up 1 to 3 files.
File format supported: (.pdf, .zip, .docx, .png, .jpg .xlsx, .xls, .csv, .txt) & Max Filesize: 25mb
Leave your details so we can contact you
This field cannot be empty.
This field must be at least 3 characters long.
This field cannot be empty.
Please enter a valid email address.
This field cannot be empty.
Please enter a valid phone number.
This field cannot be empty.
Server error. Try again later.
Thank you!
We will send you a confirmation email and will contact you soon.
Don't have account yet? Register
Back to shopping

Production at ME-Measuring Systems

Sensors with strain gauges consist of a spring body that is equipped with strain gauges. To protect the strain gauges, protective covers or housings are required.

The quality of the sensor is determined by

We monitor these properties through strict quality testing in incoming goods, through audits at suppliers, by measuring sensor properties such as temperature response, zero signal return error after thermal and mechanical stress, linearity, creep errors...

The slightest deviations in the process parameters, such as temperature, temperature gradient, roughness, purity, soldering temperature, thickness of the adhesive layer, etc., can affect the function of the sensor.

The safety of the processes is guaranteed by using the most modern production systems and measurement technology.

All production steps are monitored. Sensor properties are logged in databases.

The table provides an overview of the processes used.


Process Machine VAdvantages

Surface preparation

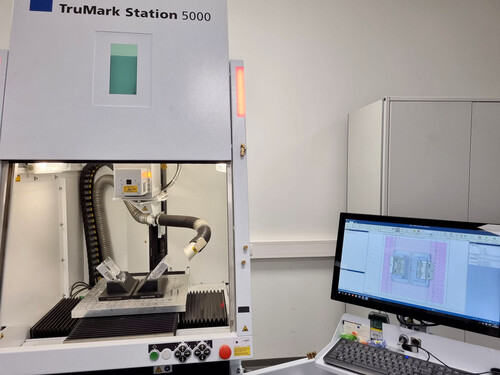
Trumpf Laser

reproducibility, little removal, batch production;

Marking

Trumpf Laser

Reproducibility; Accuracy; Low cross sensitivity and low crosstalk for 3D and 6D sensors.


Labelling

Trumpf Laser

Serial number with barcode; Execution in a joint work step with surface preparation and marking;

Cleaning

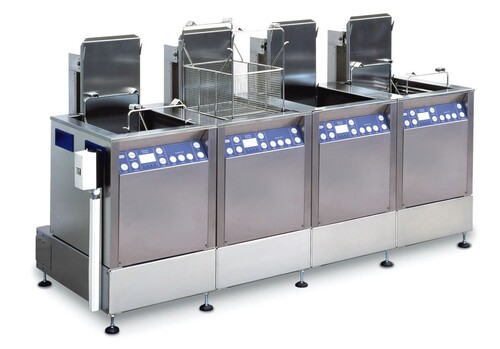
Elma

Reproducibility; Speed; Cleaning line with ultrasonic oscillation temperature drying

Glueing

Heräus Vötsch, Weiss, Memmert: Temperature cabinets;

laminar flow box;

clamping with spring force; Low mass; large surface area; high temperature gradient; Low-dust work under a laminar flow box for the lowest failure rate;

Temperature tests

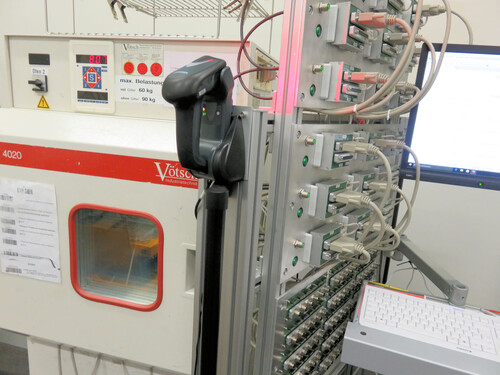
Heräus Vötsch, Weiss, Memmert: Temperature-cabinets

100% testing of adhesive AND strain gauges:

Detection of air or particle inclusions based on temperature drift and zero return errors;

Detection and documentation of drift and zero return errors;

Preparation and documentation of the aging of the solder connection and strain gauges;

Detection of drift due to internal stresses by measuring drift due to bending;

Measurement and documentation of the insulation resistance (larger/smaller 1GOhm)

Measurement and documentation of the connection resistance

Calibration

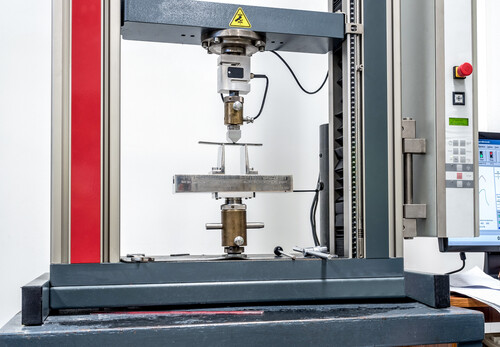
Zwick testing machines, hydraulic testing machines

Creation of factory calibration certificates taking into account the requirements of DIN ISOIIEC 17025 with measuring equipment that can be traced to national and international standards in accordance with DIN EN ISO 9001 and DIN EN ISO 10012.

Surface preparation

Marking, surface roughness and serial number marking are carried out using the laser. The position, content and properties of the surface are part of the technical documentation for each sensor.

Cleaning

The sensors are cleaned in ultrasonic baths.

Temperature test

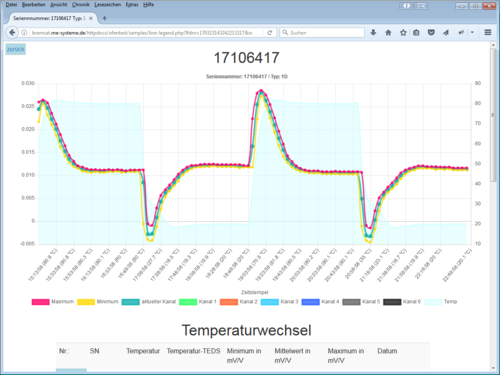
The sensors are aged, aging and temperature-related drift are recorded and compared and tested again in a further step.

Temperature test results are stored in a database

Calibration

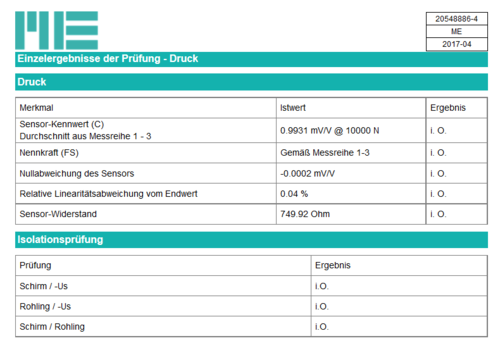
Each sensor undergoes a mechanical test, a calibration, a subsequent adjustment and a final calibration with the creation of a test report or factory calibration certificate.

Quality Assurance

The test reports and factory calibration certificates are created via web-to-print supported by software in two languages and in customer-specific templates.

Order planning

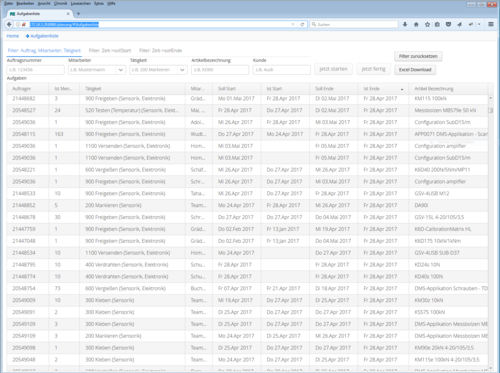
Web shop, inventory, order planning are networked with each other. Production planning assigns each work step to an employee or team and can be adapted to needs on a daily basis.

bars-filter