Multi-component sensors
Many industrial applications in automation technology, especially in robotics and medical technology, require precision handling and tactile guidance of robots with high robustness and accuracy. Reliable overload protection also plays a major role in robot-supported measurement tasks.
Below we present the latest sensor solutions for robust and high-precision robotics applications.
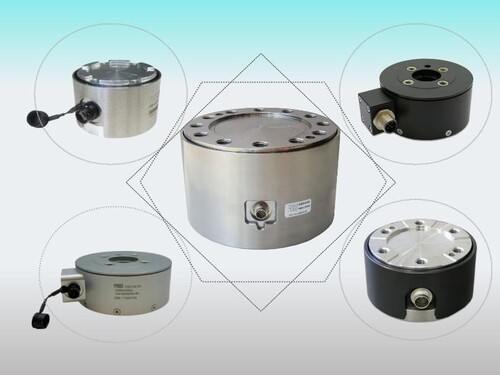
6-axis force/torque sensors "K6D" FORCES and MOMENTS
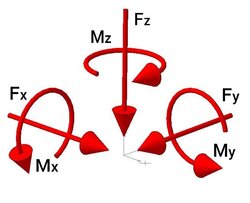
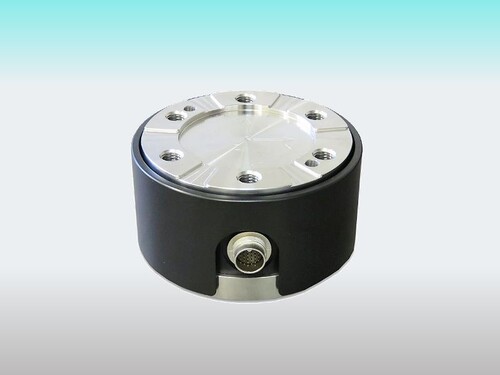
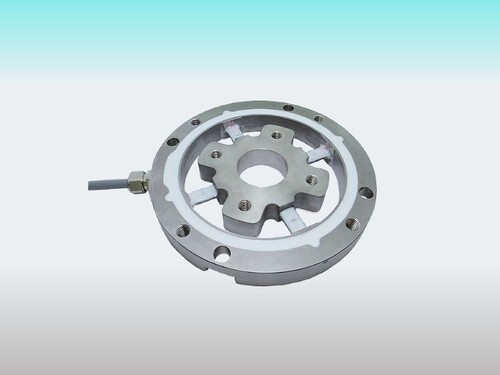
These K6D and F6D sensors are suitable for measuring forces and moments in the 3 directions of the coordinate system. They consist of a total of 6 full-bridge strain gauges. The 6 measuring signals are made available via a 24-pin connector for further processing with a measuring amplifier.
A calibration matrix is required to calculate the forces and moments from the 6 measurement signals. The calibration matrix establishes the relationship between the 6 measurement signals and the forces Fx, Fy, Fz, and the moments Mx, My, and Mz (ba-k6d.pdf). By using special calibration matrices (Matrix Plus), the accuracy can be optimized and crosstalk can be minimized for a specific load case.
The calibration matrix is used, for example, in the GSV-8DS measuring amplifier, so that each measuring channel corresponds to a force or a moment via the USB interface or via the analog outputs.
(Channel 1: Fx, Channel 2: Fy, Channel 3: Fy, Channel 4: Mx, Channel 5: My, Channel 6: Mz).
To calculate the forces and moments, all 6 channels must be evaluated. The vector with the 6 DMS signals is multiplied by a 6x6 matrix to obtain a vector (Fx, Fy, Fz, Mx, My, Mz).
3-axis force/torque sensors
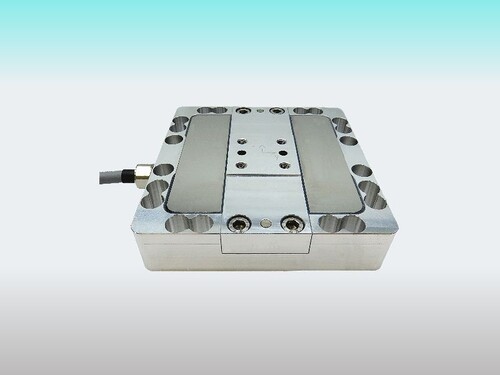
The K3D, K3R and K3A sensors are suitable for measuring forces in the 3 directions of the coordinate system. They consist of a total of 3 strain gauge full bridges.
In contrast to the multi-component sensor, the signal of each channel already corresponds to a force Fx, Fy, Fz.
The axes are separated by the design and arrangement of the strain gauges. A measuring amplifier is required to amplify the signals to voltages or to digitize the signals for e.g. the USB interface or the CAN bus.
Compact and accurate
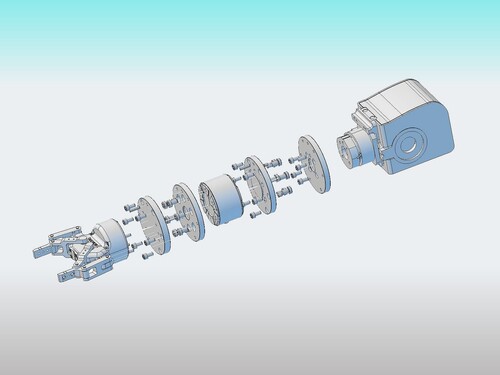
A multi-component sensor replaces up to 6 single-axis sensors at the same time. A three-axis force sensor combines three single-axis force sensors in one component.
The accuracy achieved with a three-axis force sensor or a six-component sensor cannot be achieved by combining 3 or 6 single-axis sensors: Conventional force sensors are sensitive to the "oblique" introduction of forces: A measurement error occurs when a force is introduced perpendicular to the actual measuring direction, which often cannot be precisely quantified. When three force sensors are combined in a series connection, a force sensor absorbs the load in three dimensions, although it is only designed for one direction of load. In addition, the series connection of sensors also means a series connection (and thus a reduction) of spring stiffness. If, on the other hand, one tries to separate the individual axes using linear guides, errors of the order of 10% and more are caused by the static friction in conjunction with the short measuring paths of force sensors.
Three-axis force sensors and multi-component sensors offer the highest accuracy and highest stiffness with a simple and compact design.
Crosstalk
The introduction of a force or a moment in a measuring axis also results in the display in the perpendicular axes. This effect is called crosstalk.
For three-axis force sensors and multi-component sensors, the crosstalk when the nominal load is applied is approx. 1% of the nominal load of the other axes.
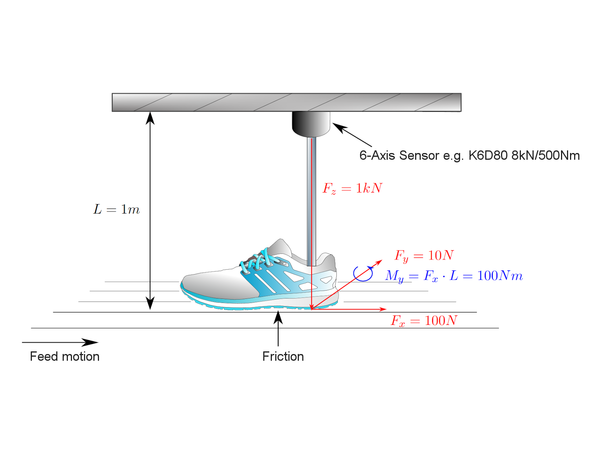
The crosstalk is proportional to the level of load. With increasing lever arms or larger moments, the deformation of the sensor and the crosstalk increase.
The calibration takes place in the plane of the end face of the sensors.
In contrast to three-axis force sensors, crosstalk at the respective operating point can be minimized in multi-component sensors by calibrating the operating point. By using a second calibration matrix (Matrix Plus), crosstalk at this operating point can be reduced to 0.2% to 0.5%.

