Call Us

We are ready to help

Request a special version

Didn't find what you were looking for?
This field cannot be empty.
This field must be at least 3 characters long.

Files

Drag & Drop files here or click to browse

File format supported: (.pdf, .zip, .docx, .png, .jpg .xlsx, .xls, .csv, .txt) & Max Filesize: 25mb

Need to be uploaded up 1 to 3 files.
File format supported: (.pdf, .zip, .docx, .png, .jpg .xlsx, .xls, .csv, .txt) & Max Filesize: 25mb
Leave your details so we can contact you
This field cannot be empty.
This field must be at least 3 characters long.
This field cannot be empty.
Please enter a valid email address.
This field cannot be empty.
Please enter a valid phone number.
This field cannot be empty.
Server error. Try again later.
Thank you!
We will send you a confirmation email and will contact you soon.
Don't have account yet? Register
Back to shopping

Strain Gauge (SG) Training

Need help installing strain gauges? We would be happy to support you with your measuring task and provide you with all the necessary basics on the subject of strain gauges.

The training courses can be designed individually according to your wishes. Your questions and components will be taken into account in the training.

We also offer the production of samples and series parts based on strain gauge technology. We would be happy to support you in the development of the products.

Materials and  Basic Equipment

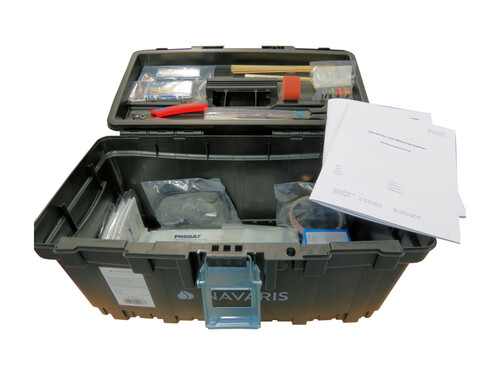
A lot of small materials are required for practical training: stranded wires in different cross-sections and colors, adhesives, covering materials, small tools, adhesive tapes, cleaning agents, soldering terminals, connection cables.

We will put together the right range for you to get you started.

Training process (example)

  • Introduction to strain gauge technology
  • Explanation of typical bridge circuits
  • Explanation of various wiring options
  • Explanation of the steps for strain gauge bonding
  • Carrying out the strain gauge application to measure bending, axial force, torsion and/or shear
  • Loading the component and evaluating the results with the measuring electronics
  • Calculation of stresses and moments from measured strains

Surface Preparation

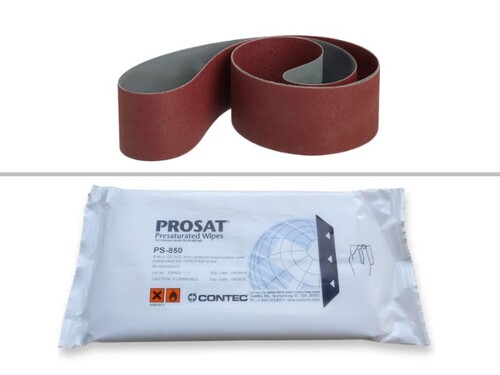
The strain gauge application surfaces should have a roughness of 0.4 to 1.6 μm before degreasing and drying is completed. In this first step, the surface is roughened with an abrasive cloth, grit 320. Then clean the sanded surface with lint-free solvent cloths.

Marking the SG position

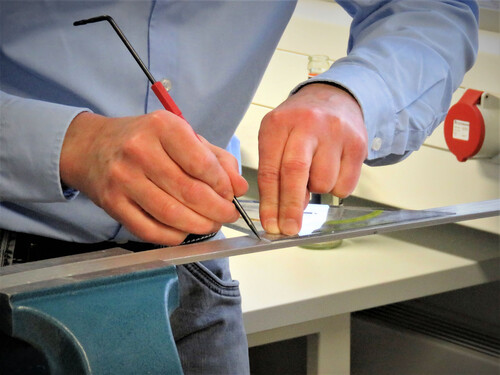
In the second step, position your strain gauge correctly. Simply mark the lines directly on the component with a ruler and an H2 pencil or with a ballpoint pen. Important: The crack must not be noticeable under the measuring grid. When using hot-curing adhesives, small air bubbles would form and affect the fatigue strength. A crack on both sides of the strain gauge is often sufficient.

Strain Gauge preparation

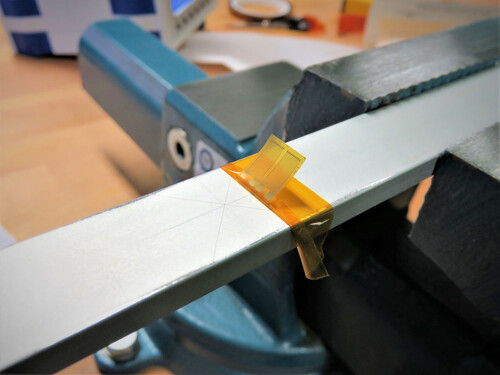
A polyimide adhesive tape serves as a positioning aid for the strain gauge. The adhesive tape covers the soldering points, so the soldering points remain free of adhesive.

The entire strain gauge is not covered with adhesive tape because then excess adhesive cannot escape.

When folding it over, make sure that the Strain Gage Foil is free 2...3 mm below the fixation so that adhesive is safely applied to the area of the scarf joint.

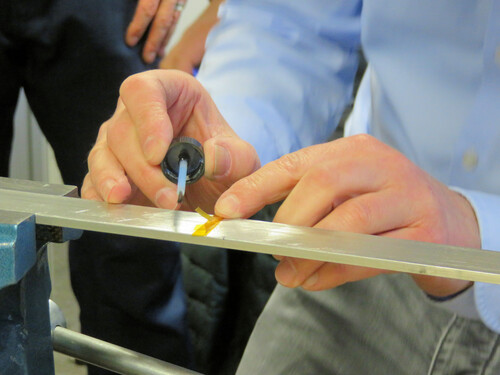
Now apply activator to strain gauges and component. Use the long side of the brush and try to wet the strain gauge and the component with one brush stroke each.

Run the brush stroke on the strain gauge from the hinge joint to the top edge, and on the component also from the hinge joint outwards.

Due to the peeling movement, the adhesive surfaces are now dust-free.

The activator must now evaporate completely (duration approx. 30s to 1 minute with a correspondingly thin application)

Sticking on the Strain Gauge

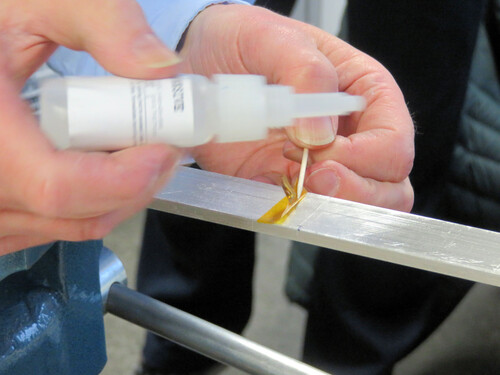
The adhesive can be applied to the strain gauge either directly from the bottle or indirectly using a wooden stick ("toothpick").

With the long side of the wooden stick, the excess adhesive is removed from the hinge joint towards the top edge so that when you then press it down with Teflon film, excessive amounts of adhesive do not come out.

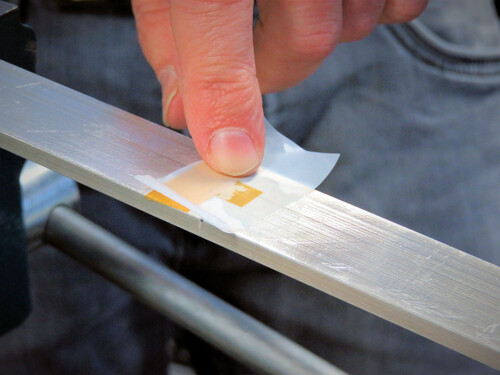
The thumb is pressed over the strain gauge starting from the hinge joint. A Teflon film serves to insulate the thumb from the adhesive. The rolling movement pushes out the excess adhesive on all sides. The pressure is held for at least 60 seconds.

You can then check through the Teflon film to see whether the adhesive has come out on all four edges. Then the Teflon film is removed.

After about 5 minutes, the Kapton adhesive tape can be removed (peeling horizontally without applying force to the strain gauge).

Wiring the Bridge Circuit

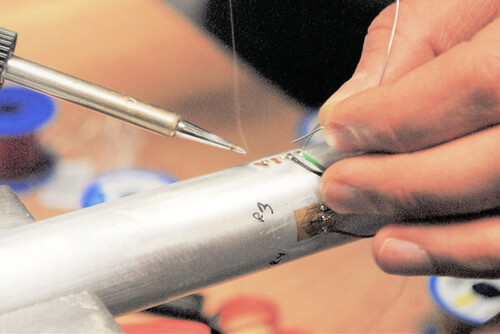
This step performs the internal wiring of the bridge circuit.

The connections of the Wheatstone bridge circuit are available at the soldering terminals. The connection cable is placed there.

bars-filter