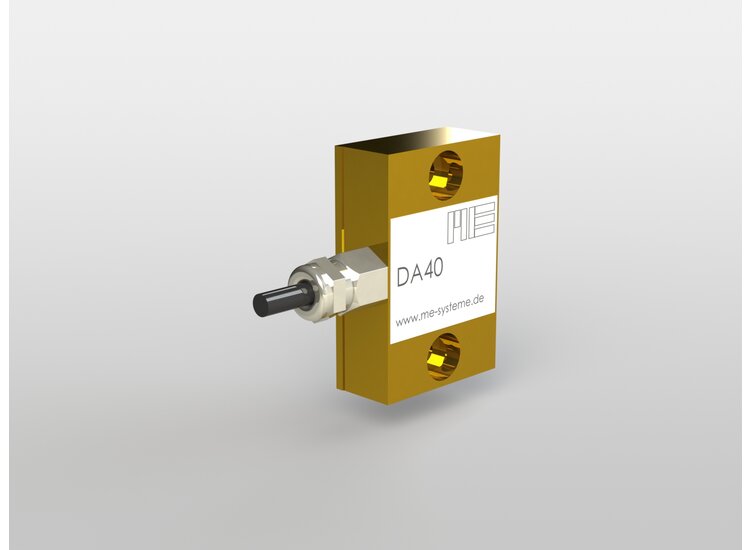
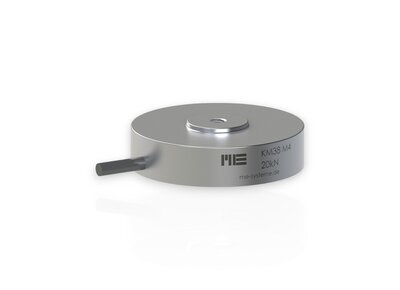
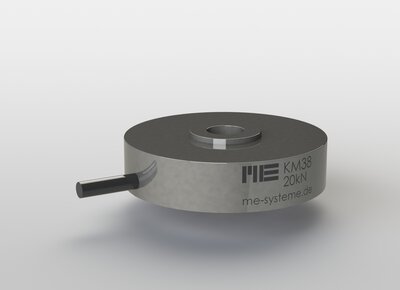
The applicable areas for the DA40 and DA54 strain sensors include precise determination of forces and deformations on massive components e.g. of presses, lifting tools, tanks, steel supports, bridges as well as the connecting rods or pedestals of production machines.
The ability to retrofit these strain sensors enhances their scope as a universal means of monitoring force and load. These strain sensors are also durable and resistant to oil and moisture.
The optimal position for installation is lateral to the loading direction, which means the forces are transmitted through the housing. However, strains of up to 1000µm/m can be accommodated with longitudinal assembly in the direction of the stress without impairing accuracy.
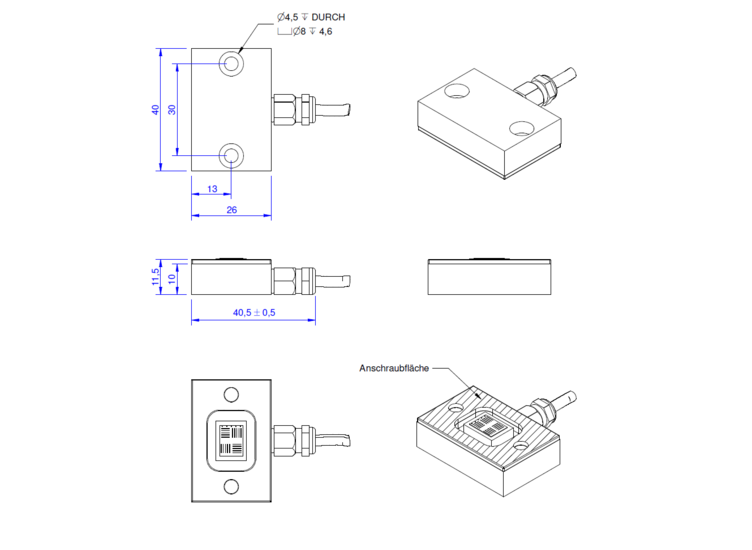
The DA40. DA54 and DadX strain sensors are ideal for taking static and dynamic measurements and differ only in terms of dimensions and fastening screws (M4 or M6)
DadX strain sensors comprise two half-shells mounted on pillars, which can accommodate diameters from 50 to 250mm.
The DA54 sensor is also available without a sink for mounting with concealed studs.
The same performance features are achieved with these strain sensors in their robust and installation-friendly aluminium housing as with the direct application of strain gauges. This includes a high resolution, very low drift symptoms and the possibilities for both static and dynamic measurement.
The strain sensor contains a completely wired strain gauge, which, when the strain sensor is being screwed on, is pressed on the component to be glued by a specially shaped pressing mechanism. The housing serves as a mounting frame for the strain gauge application.
The surface of the component must be ground and cleaned before screwing on the strain sensor in the area of the strain gauge. The strain gauge is permanently protected against moisture by means of a special, oil-resistant seal.
The null balancing of the strain gauge is carried out after the installation of the strain sensor by the strain gauge measuring amplifier GSV-2. Strains from 0.1µm/m onwards can be displayed. This corresponds to a mechanical stress of about 0.02N/mm2 on a component surface of steel. With the combination of strain sensor and measuring amplifier GSV-2, switching thresholds from about 1µm/m (corresponding to 0.2N/mm2) onwards can be monitored, if a null balancing is carried out periodically.
For applications in weighing technology, a strain range of at least 30µm/m (6 N/mm2) is recommended, in order to achieve as low a drift as possible.

